Overview
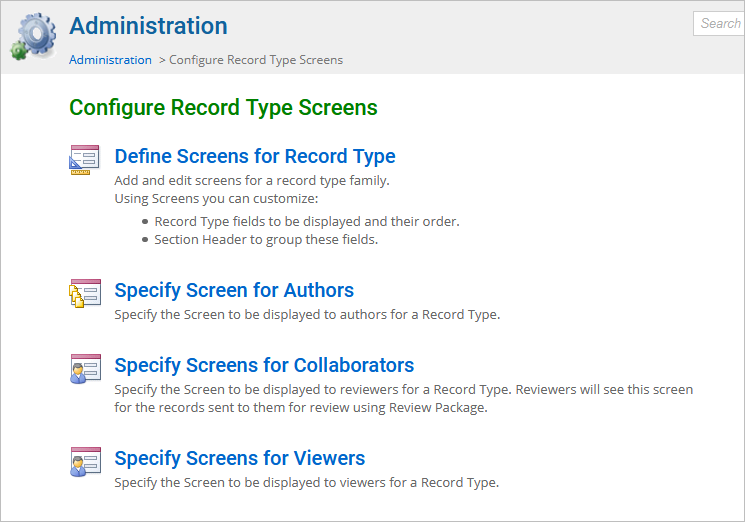
Configure Record Type Screens in the administration section of TopTeam Web allows you to configure screens for a record type by specifying which fields to display, their order, etc. A record type screen with all the fields and sections configured in it will be visible to the user to whom it is assigned. Administrators can assign screens to Authors, Collaborators, and Viewers.
This article describes the procedure to:
- Define Screens for Record Type
- Specify Screens for Authors
- Specify Screens for Reviewers
- Specify Screens for Viewers
1. Define Screens for Record Type
Define screens for a record type by adding or editing screens. Specify which record type fields and sections headers (to group fields) should display.
2. Specify Screens for Authors
Specify a record type screen to display for users who are Authors.
3. Specify Screens for Collaborators
Specify a record type screen to display for users who are Collaborators. Whenever a reviewer (collaborator) opens a record, the screen specified for that reviewer will display.
4. Specify Screens for Viewers
Specify a record type screen to display for users who are Viewers.
Who should read this?
- TopTeam Administrators
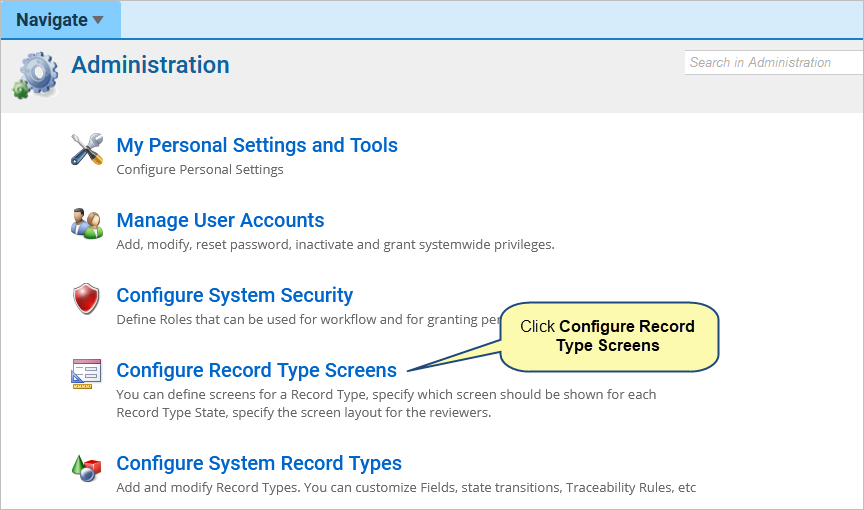
Step 1. Go to Administration section of TopTeam Web

Step 2. Click Configure Record Type Screens
1. Define Screens for Record Type
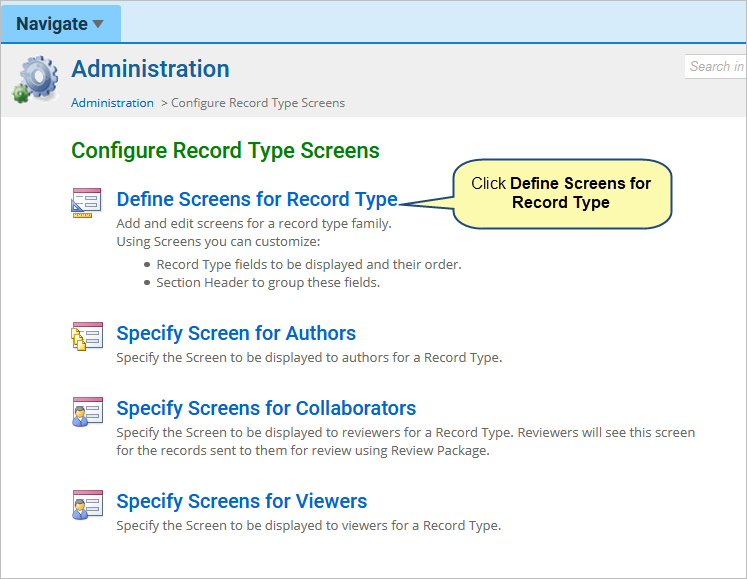
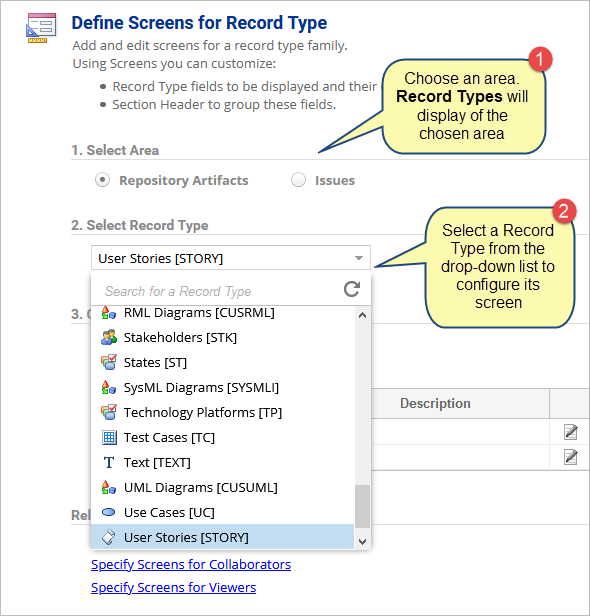
Step 1.1. Define Screens for Record Type screen opens
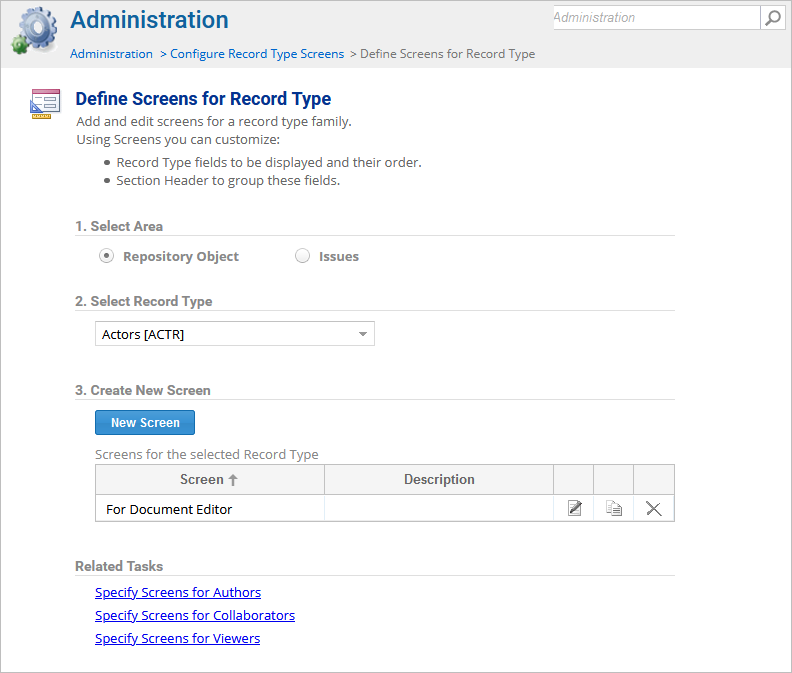
Step 1.2. Select a record type and edit the screen
Step 1.3. Click New Screen
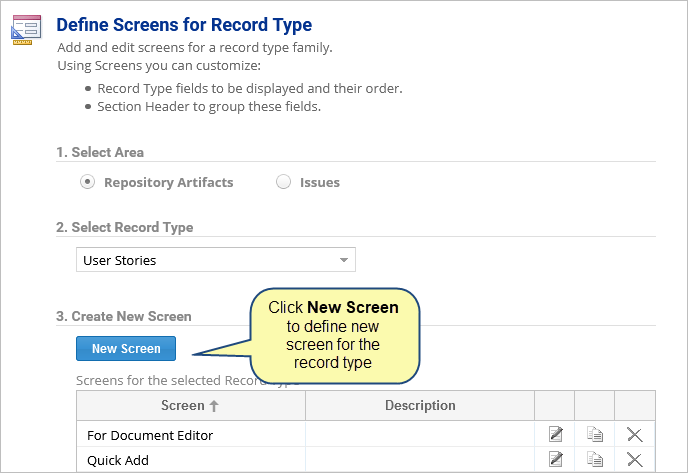
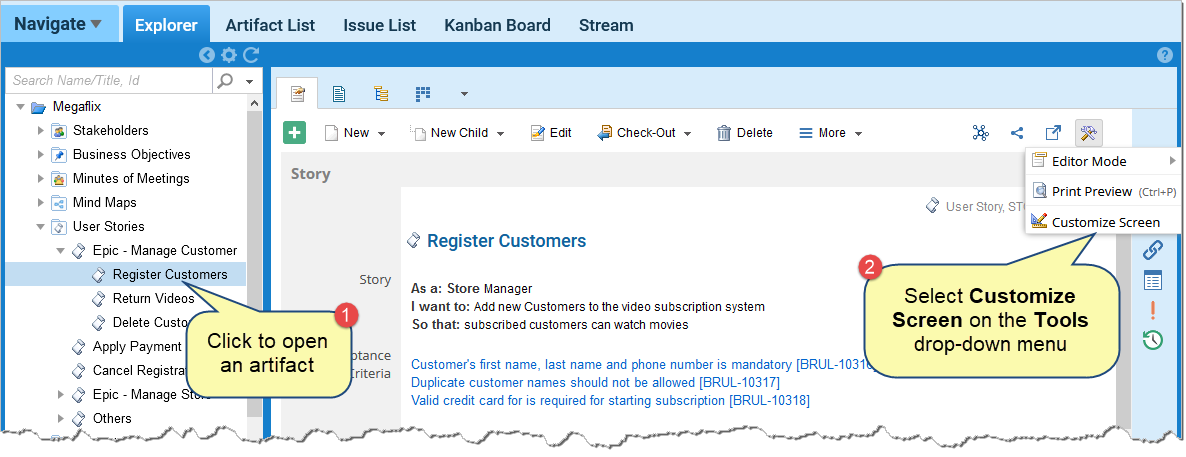
This starts Customize Screen Wizard. You can also open Customize Screen Wizard from Repository Explorer.
Step 1.4. Add/remove fields
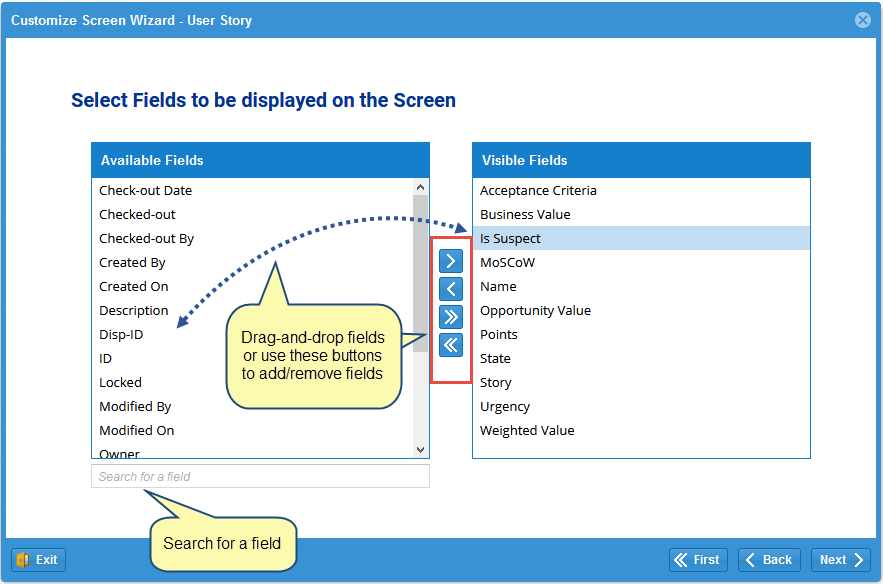
Drag-and-Drop:
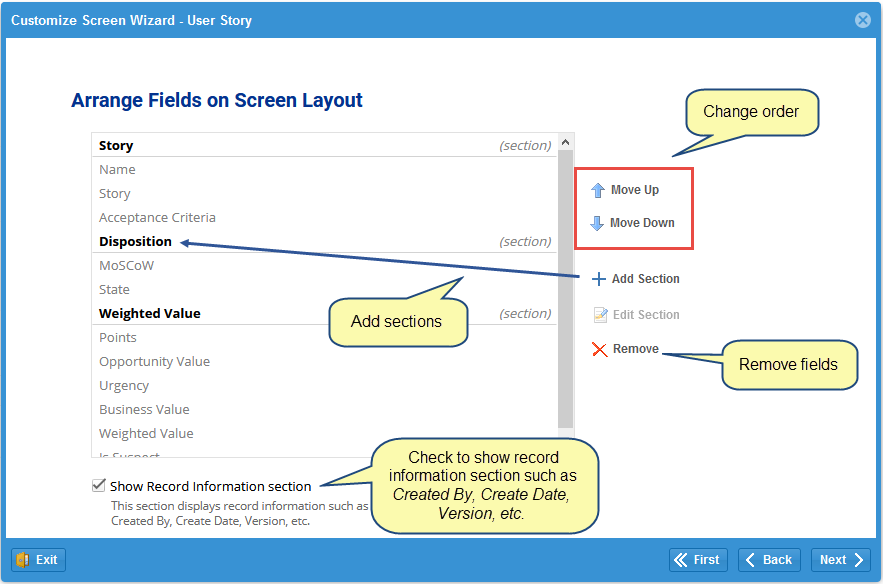
Step 1.5. Arrange Fields
Step 1.6. Edit Fields Properties
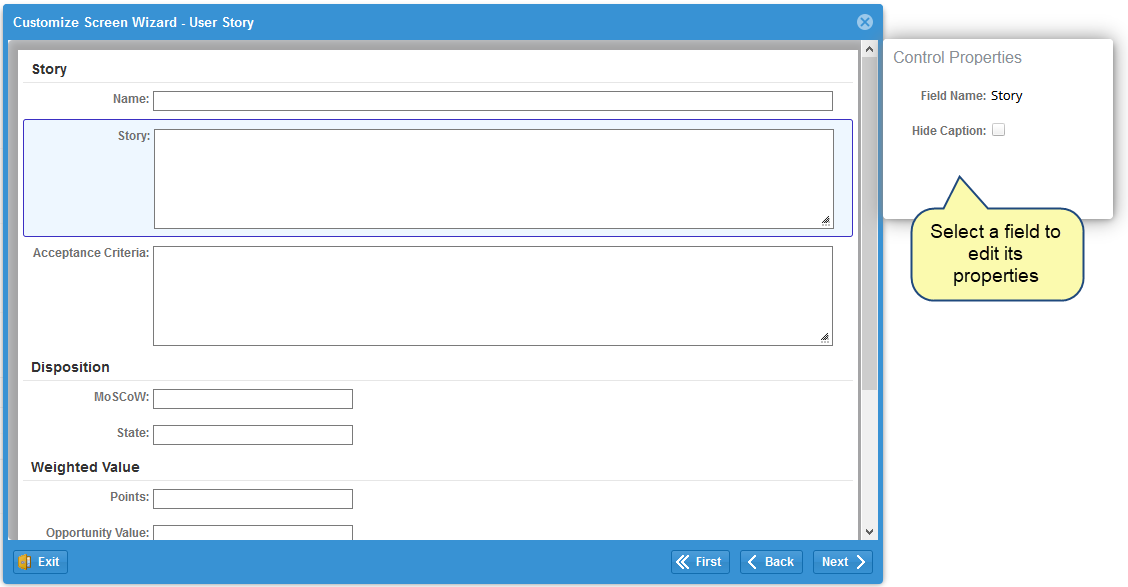
You can check the Hide Caption property to hide the caption of the selected field in Document View.
You can also drag-and-drop fields to change their position.
Step 1.7. Save the changes
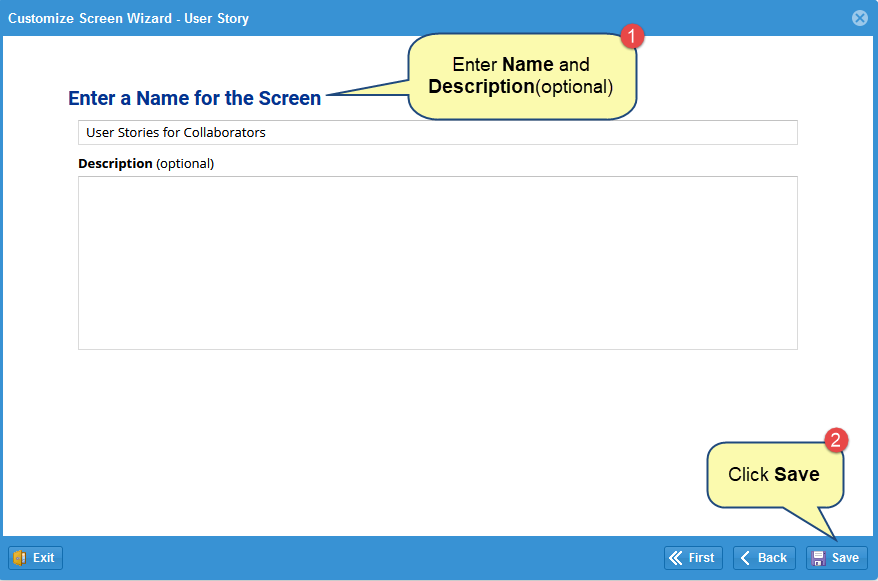
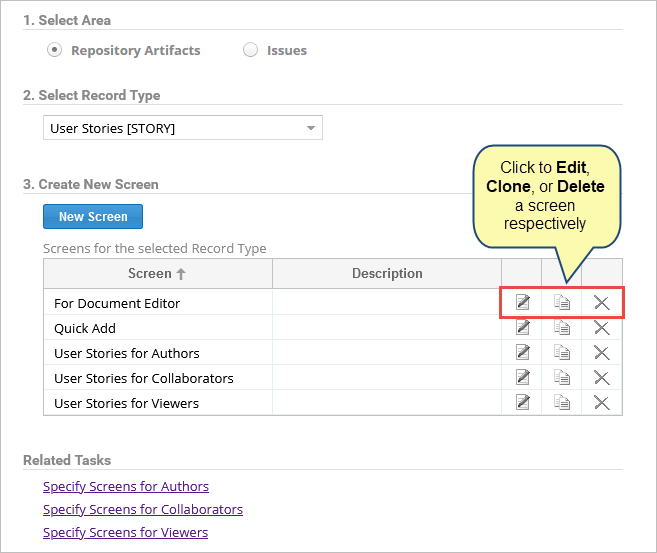
The new screen has been defined. In this way, you can create many screens for a record type. You can also edit, clone, or delete screens.
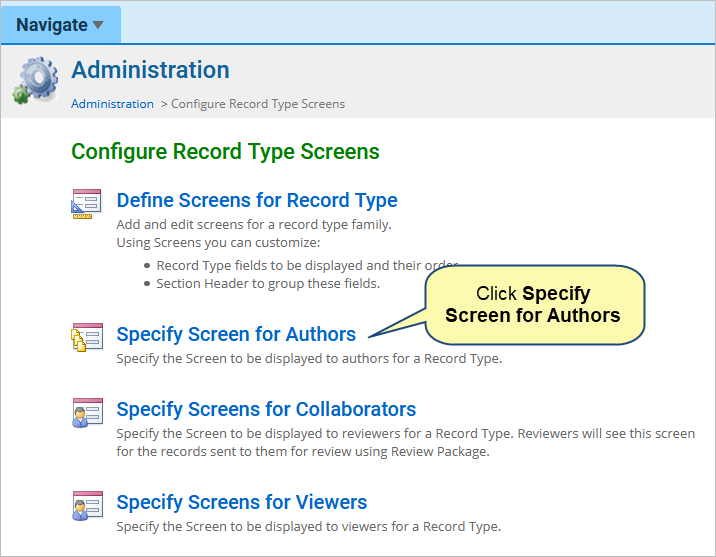
2. Specify Screen for Authors
Step 2.1. Click Specify Screen for Authors
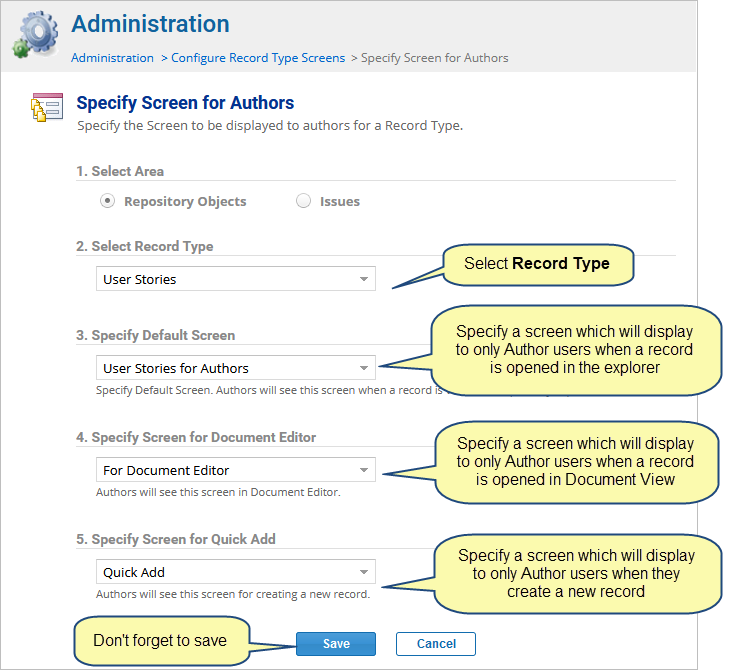
Step 2.2. Specify Screen for Authors
3. Specify Screen for Collaborators
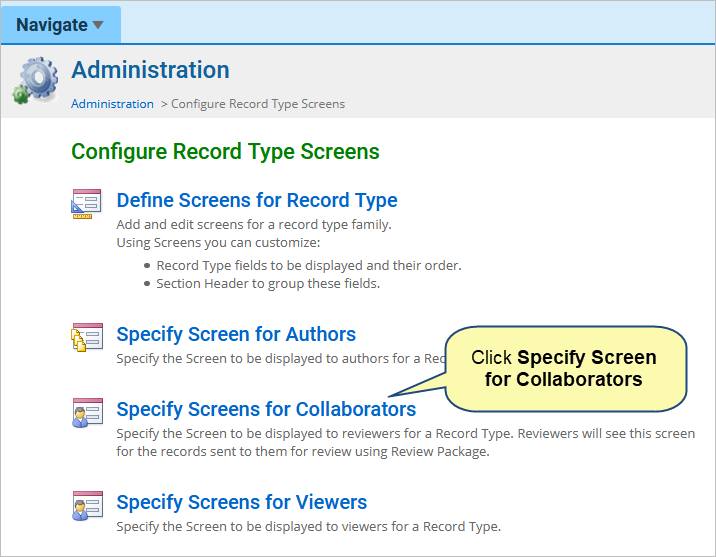
Step 3.1. Click Specify Screen for Collaborators
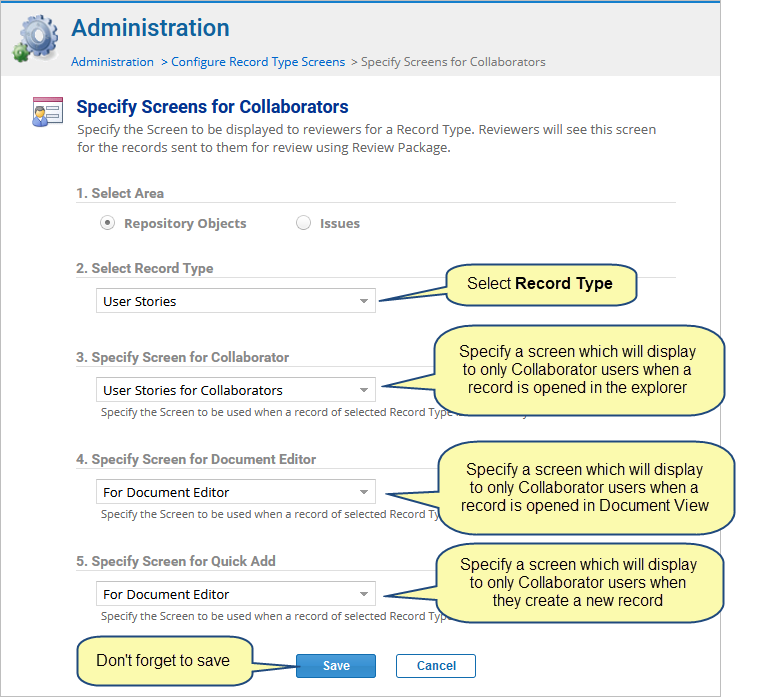
Step 3.2. Specify Screen for Collaborators
4. Specify Screen for Viewers
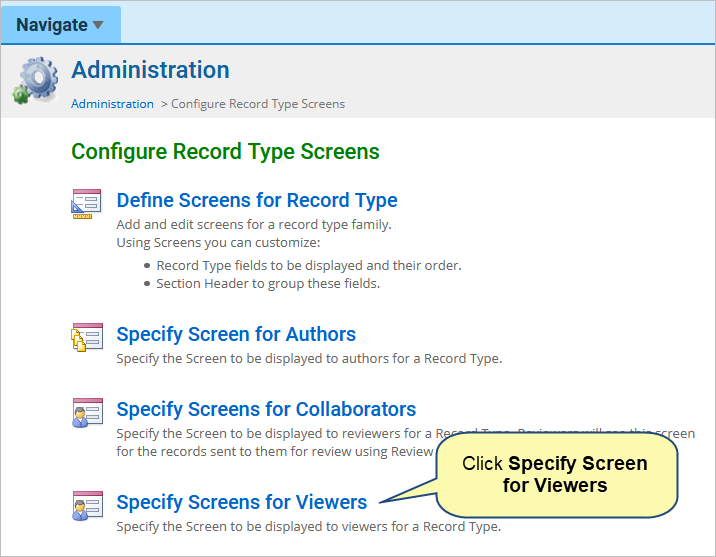
Step 4.1. Click Specify Screen for Viewers
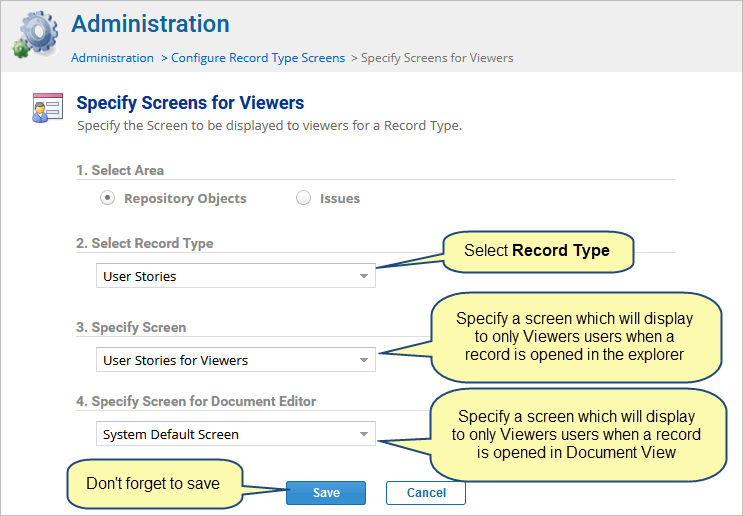
Step 4.2. Specify Screen for Viewers
Revised: October 15th, 2020