Overview
You can configure states for the selected record type. For information on state concepts, see Workflow & Lifecycle.
In this article, you’ll learn how to add an existing state, transition, and remove states of a record type.
You can also configure states using the Desktop App. For more information, click here.
Who should read this?
- TopTeam Administrators
Step 1. Go to System Administration
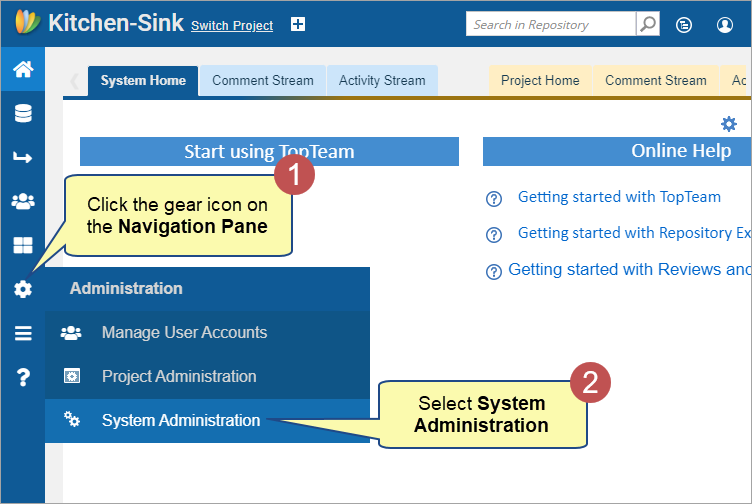
Step 2. Click Record Type States
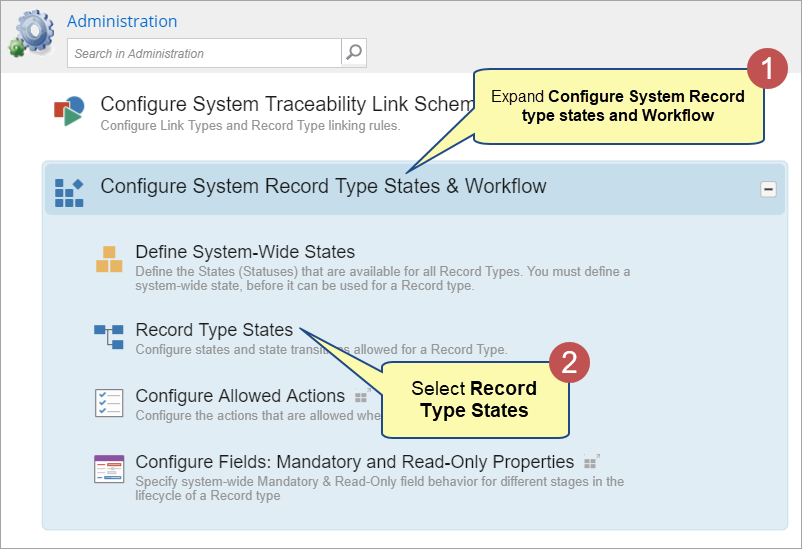
Alternatively, you can open Record Type States from the How Do I? screen.
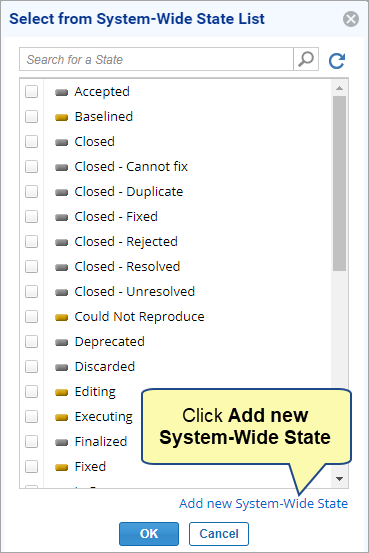
Step 3. Adding an existing State for a record type
You can select defined states for a record type that are not added to the state list of the selected record type.
| NOTE
|
You can Define System-Wide States for record types using the Add New System-Wide State action. For more information, click here.
|
Step 4. Adding Transitions
You can select and drag the added state to the desired position for the selected record type. You can:
- Add transitions
- Remove transitions
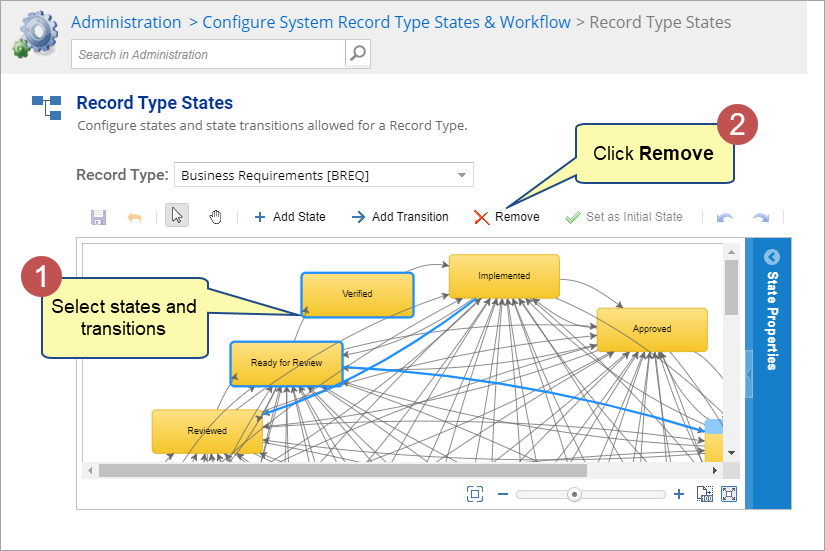
- Remove states
- Set the selected state as the initial state
Adding State Transitions
Removing States or Transitions
Related Articles
Defining System-wide Master States
Revised: February 8th, 2024