Overview
Custom Record Types allow you to extend the out-of-the-box functionality of TopTeam to better suit your organization’s specific needs. Examples of custom Record Types include:
- Business Objectives
- Project Risks
- Error Messages
- Visio Diagrams
- Any other type of project-related information
This article explains the step-by-step process to create custom Record Types in TopTeam.
Who should read this?
- TopTeam Administrators
Prerequisites
You must log in with a User Account with the System Administrator permission.
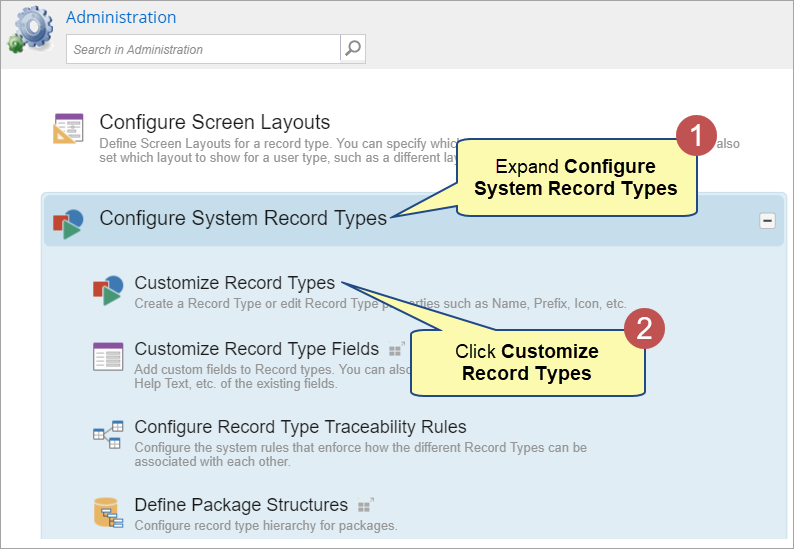
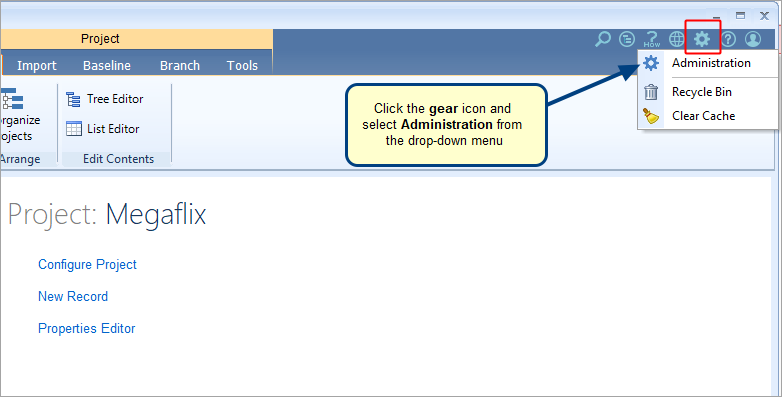
Step 1. Navigate to the System Administration section

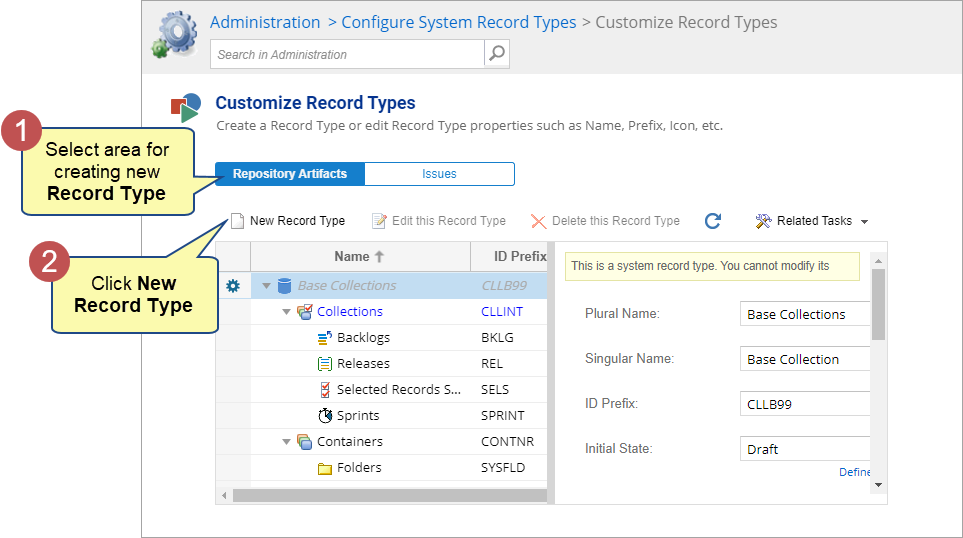
Step 2. Click Customize Record Types
Step 3. Click New Record Type
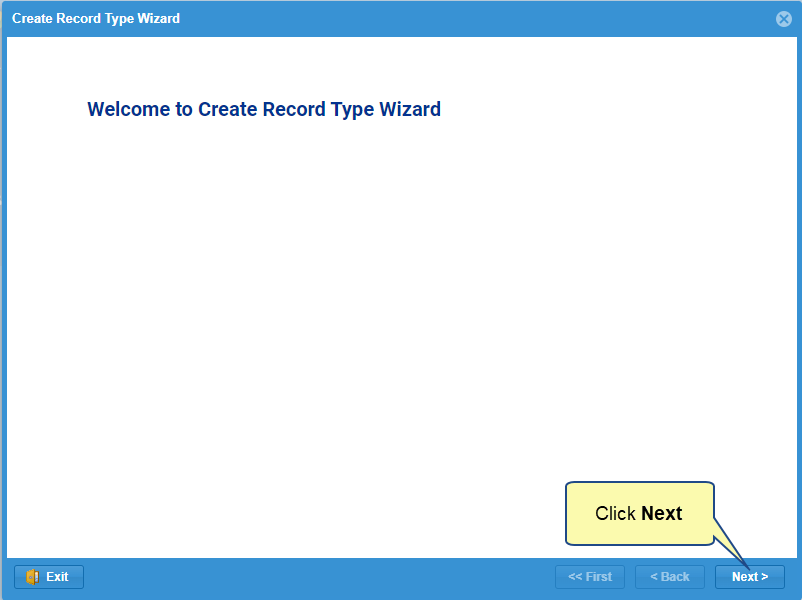
Step 4. Follow the wizard
Step 5. Select a Parent Record Type
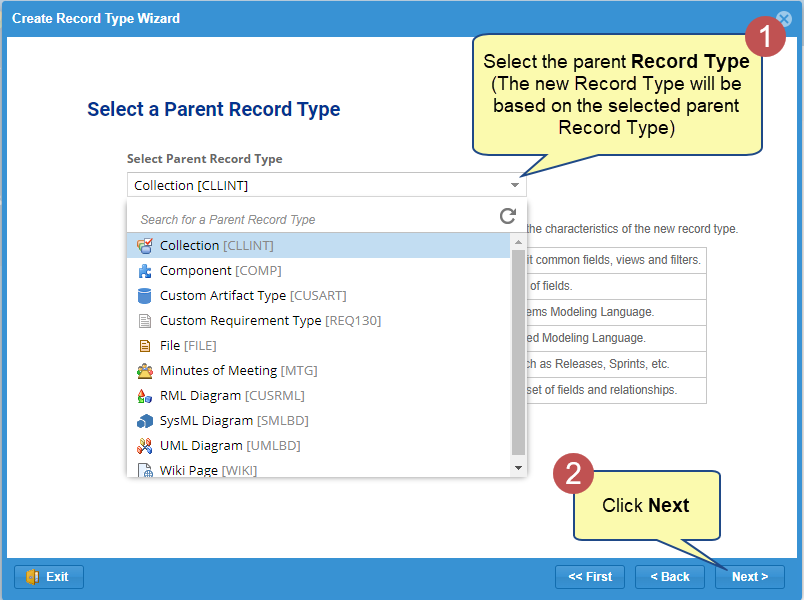
Choose the appropriate parent Record Type carefully:
- To create a new Requirement Type → Select Custom Requirement Type as the parent.
- For general-purpose records (e.g., Error Messages, Project Risks) → Select Custom Artifact Types as the parent.
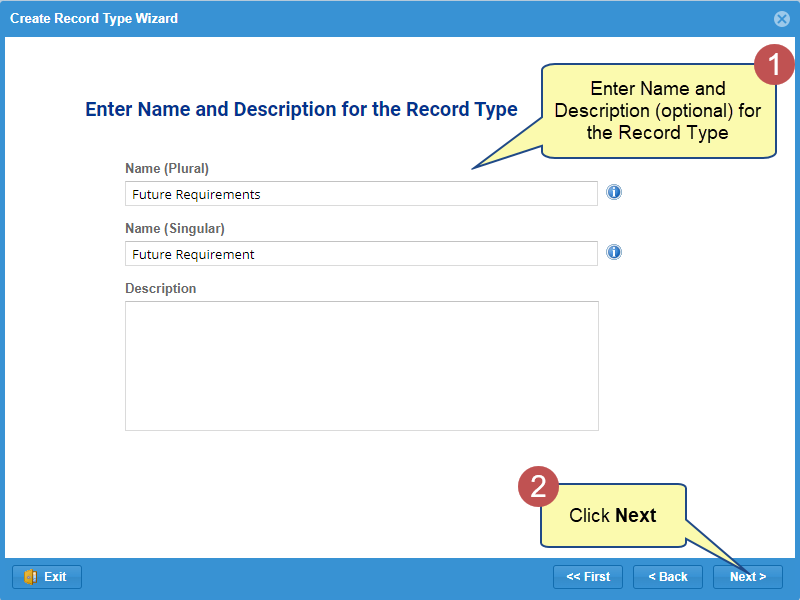
Step 6. Enter a Name and Description (optional) for the new Record Type
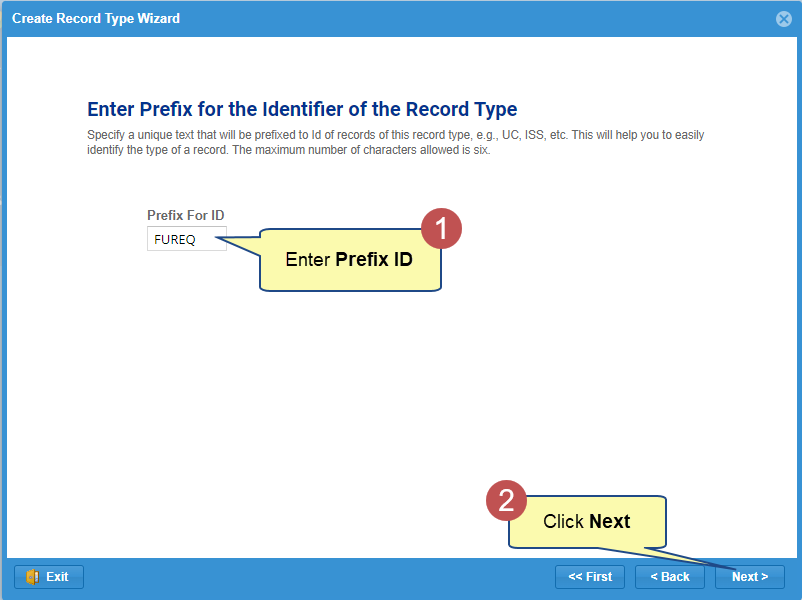
Step 7. Enter Prefix (unique text identifier) for the Record Type
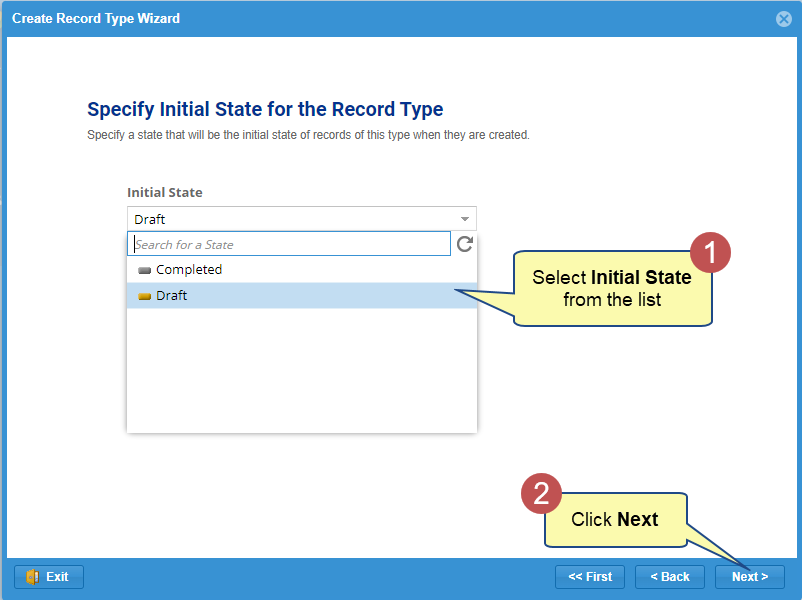
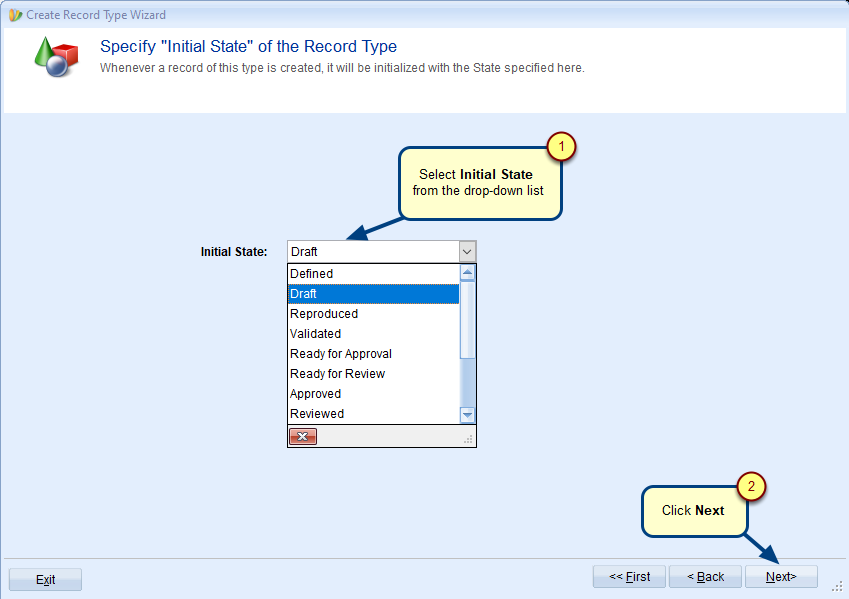
Step 8. Specify the Initial State of the Record Type
INITIAL STATE: Whenever an artifact of the selected type is created, the specified “Initial State” will be assigned.
NOTE  | You can change the “Initial State” after fully defining the Record Type States/Workflow Life Cycle. |
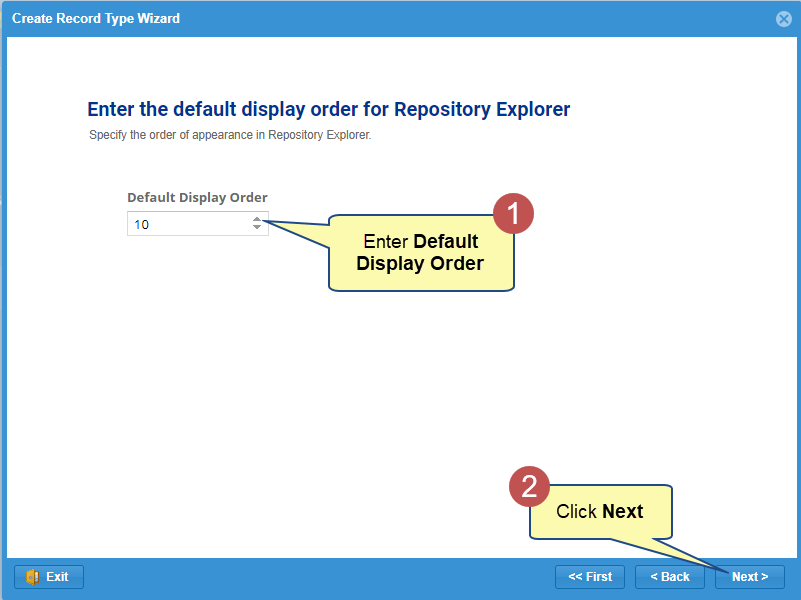
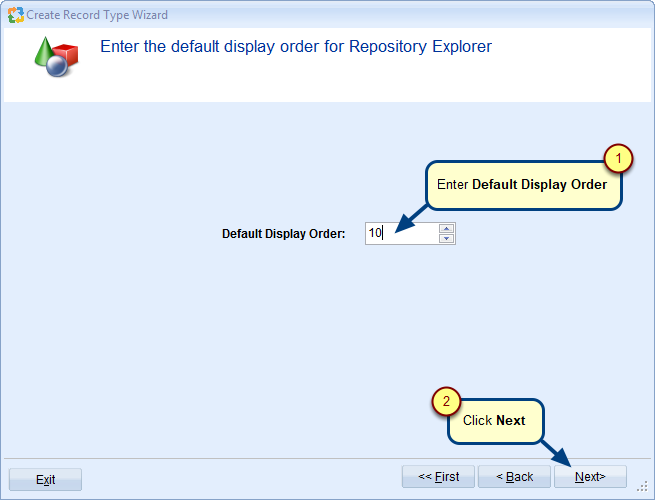
Step 9. Enter the default Display Order for how this Record Type appears in the Repository Explorer
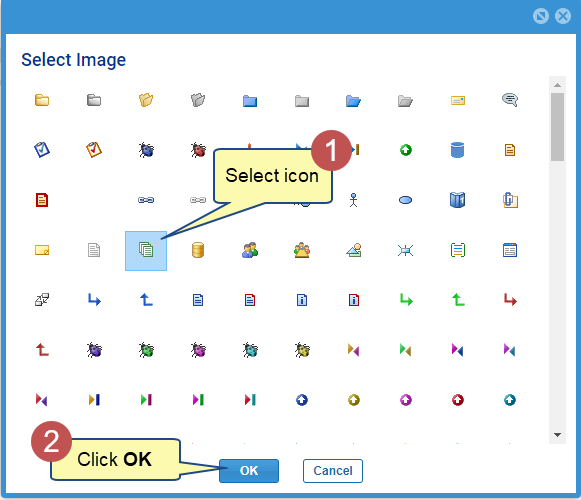
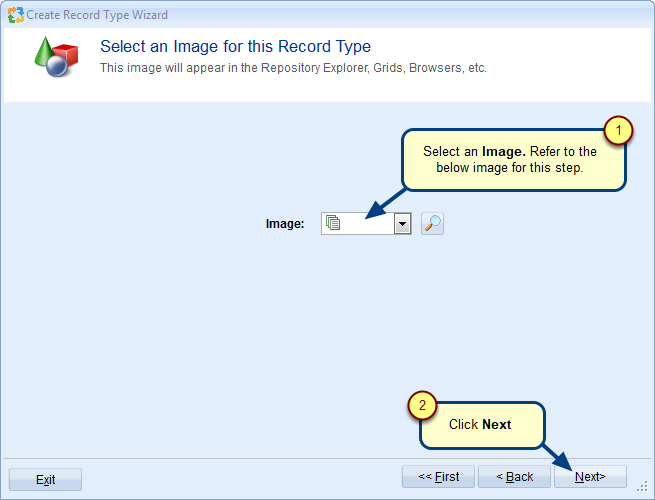
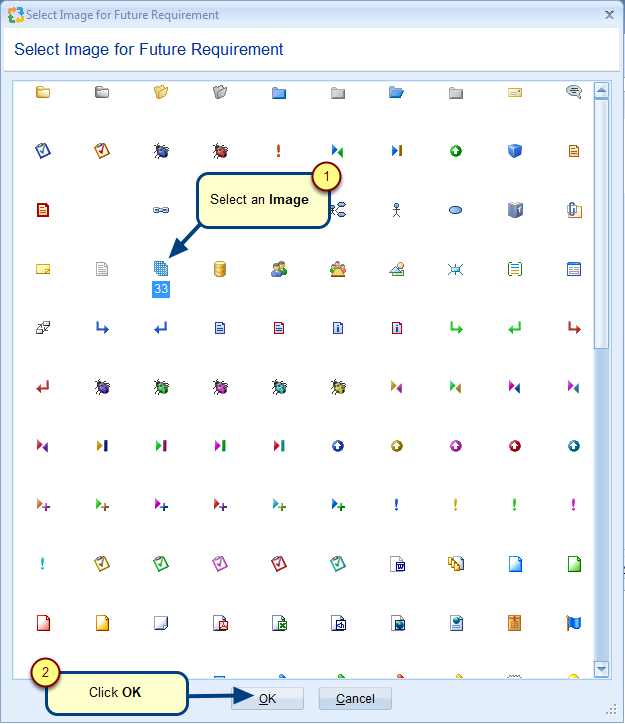
Step 10. Select an icon for this Record Type
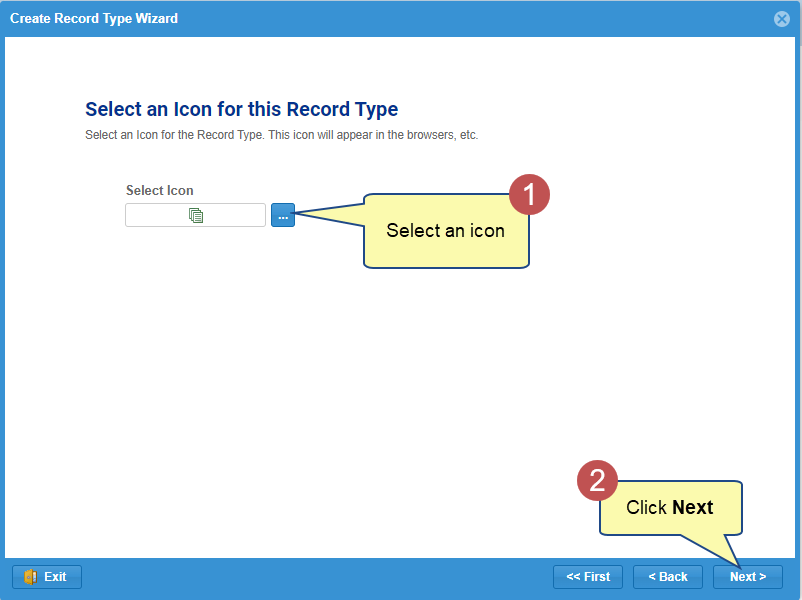
NOTE  | The selected Record Type icon appears in Repository Explorer nodes and other interfaces. |
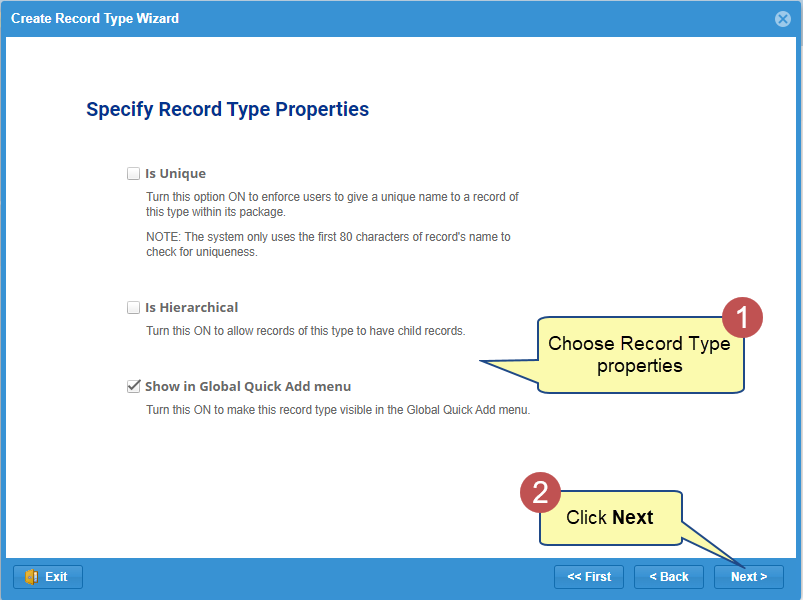
Step 11. Specify Record Type properties
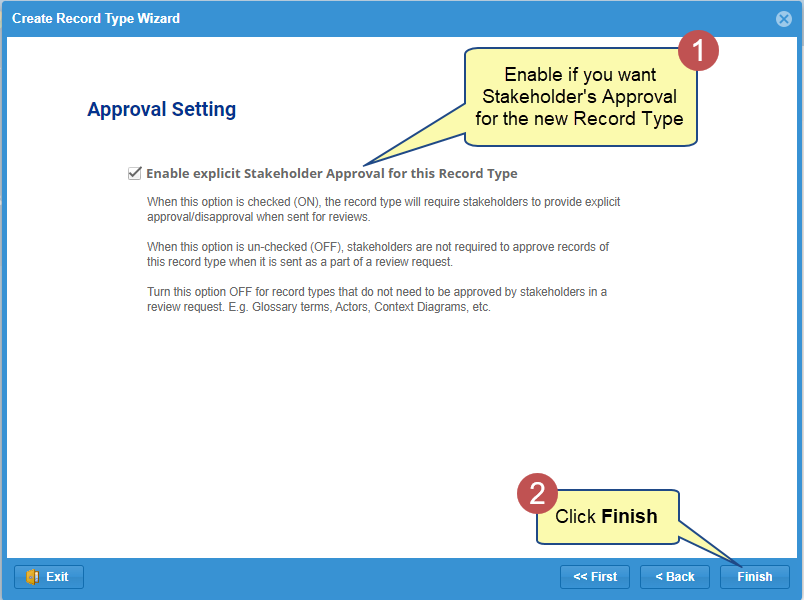
Step 12. Enable or disable Explicit Stakeholder Approval for the new Record Type
The Record Type has been created.
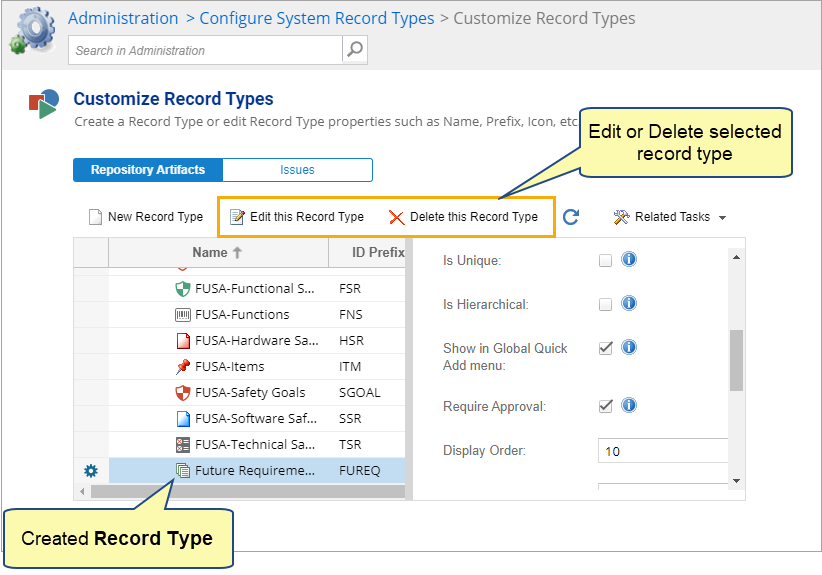
Similarly, you can create a New Record Type for Issues area. In the step 3, you need to select Issues and follow the wizard.
Step 1. Navigate to the System Administration section
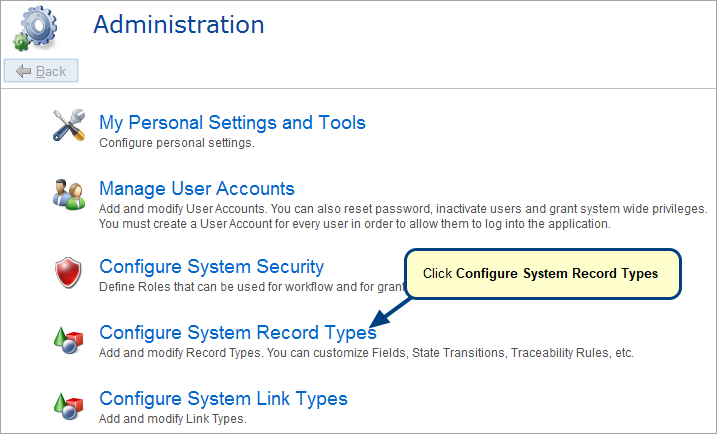
Step 2. Click Configure System Record Types
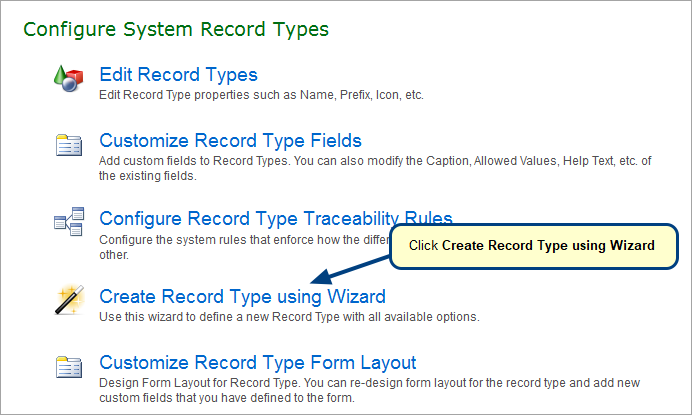
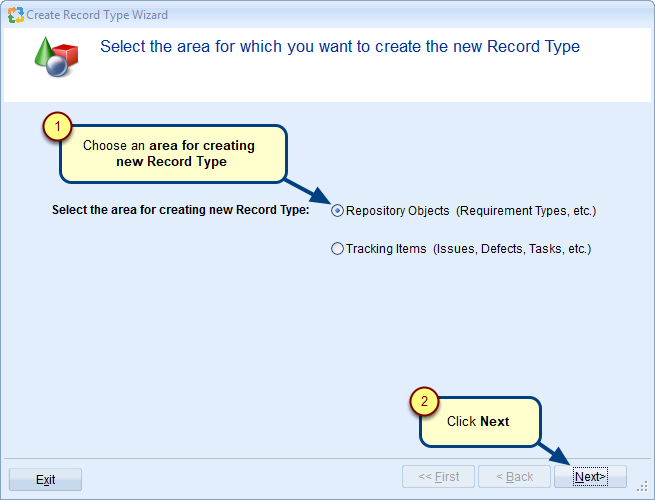
Step 3. Click Create Record Type using Wizard
Step 4. Select the area for creating a new Record Type
Step 5. Select a Parent Record Type carefully
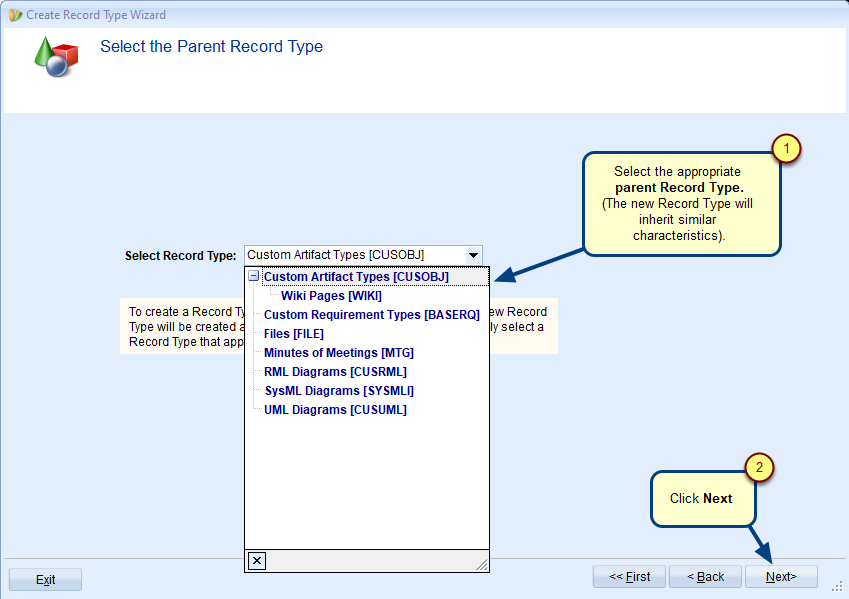
Choose the appropriate parent Record Type carefully:
- To create a new Requirement Type → Select Custom Requirement Type as the parent.
- For general-purpose records (e.g., Error Messages, Project Risks) → Select Custom Artifact Types as the parent.
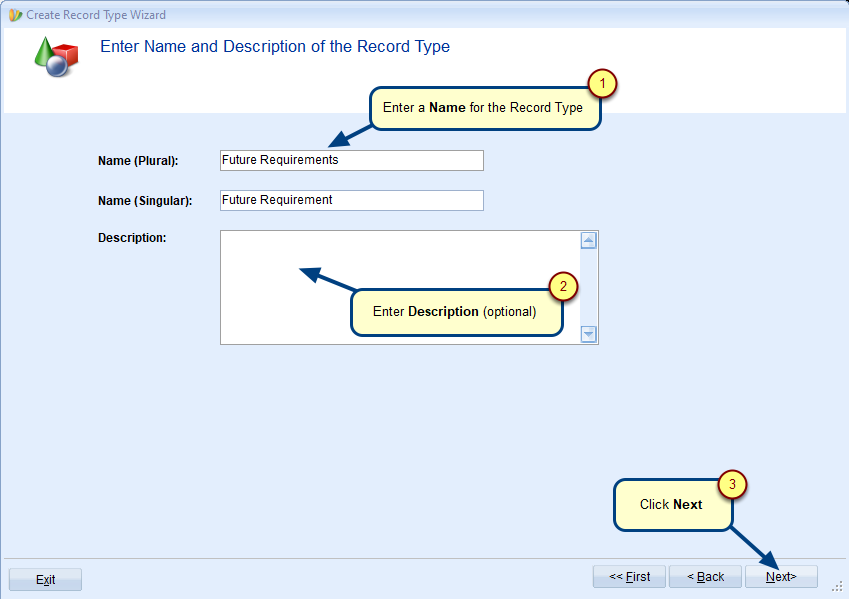
Step 6. Enter a Name and Description (optional) for the new Record Type
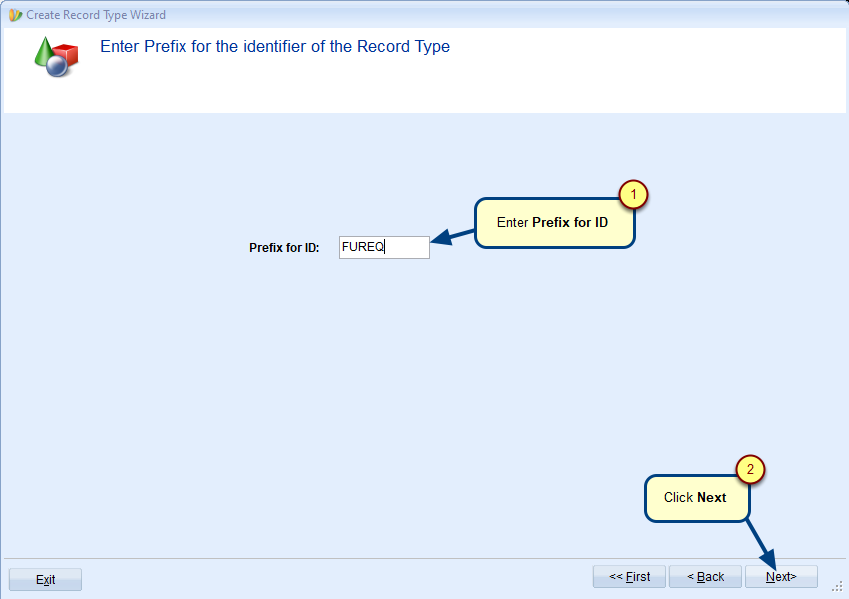
Step 7. Enter Prefix (unique text identifier) for the Record Type
Step 8. Specify the Initial State of the Record Type
INITIAL STATE: Whenever an artifact of the selected type is created, the specified “Initial State” will be assigned.
NOTE  | You can change the “Initial State” after fully defining the Record Type States/Workflow Life Cycle. |
Step 9. Enter the default Display Order for how this Record Type appears in the Repository Explorer
Step 10. Select an icon for this Record Type
NOTE  | The selected Record Type icon appears in Repository Explorer nodes and other interfaces. |
Step 11. Enable or disable Explicit Stakeholder Approval for the new Record Type

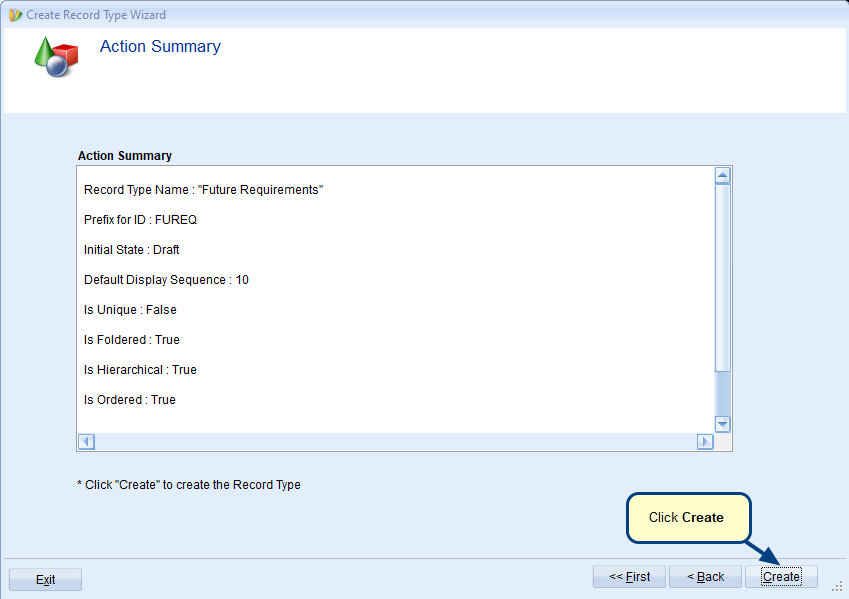
Step 12. Review Action Summary and click Create to create the new Record Type
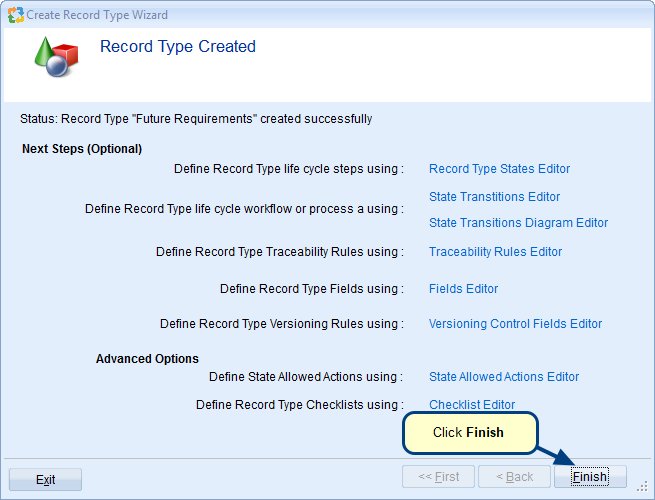
Step 13. Click Finish
Similarly, you can create a New Record Type for Issues area. In the step 4, you need to select Issues and follow the wizard.
IMPORTANT steps after creating a new Record Type
- Include the New Record Type in a Project
Before using the new Record Type to enter data, you must include it in a Project.
Learn more: Adding/Removing Record Types
- Define Traceability Rules:
To create Trace Links with other Record Types, define traceability rules in advance.
Learn more: Configuring Traceability Schema/Rules for Record Types
- Configure Fields and Workflow
- Custom Fields and Form Layout
Rename existing fields, create custom fields (fields hold specific data attributes for a record type) and adjust the form layout (add/remove fields or tabs).
Learn more: Customizing a Form Layout of a Record Type - Status Life Cycle
Define the Record Type’s status life cycle or workflow process.
Learn more: Configuring State Transition Rules for Record Types
- Custom Fields and Form Layout
These and other advanced functions are accessible via the Administration area.
See Also
Revised: December 12th, 2023