Overview
TopTeam supports External Authentication that allows you to log in to TopTeam using your organization’s authentication management system such as Active Directory Federation Services (AD FS) or any third-party provider.
To enable this, you need to configure both Internet Information Services (IIS) and the TopTeam Web Server Management Console.
This article describes the steps to configure the External Authentication REST API Server on IIS.
Who should read this?
- TopTeam Administrators
- System Administrators
- IT Support
Prerequisites
- Ensure that TopTeam Web is configured on your computer and is in the running state. For more information on configuring TopTeam Web, refer to the article TopTeam Web Server Installation Guide.
Step 1. Run Management Console for TopTeam Web Server
To run TopTeam Web Server Management Console, locate the installation folder on your computer and click ttmISAPICp_SQL.exe. For more information, refer to the article How to locate the TopTeam Web Server installation folder (Version 8.x).
Step 2. Enter the Issuer URL
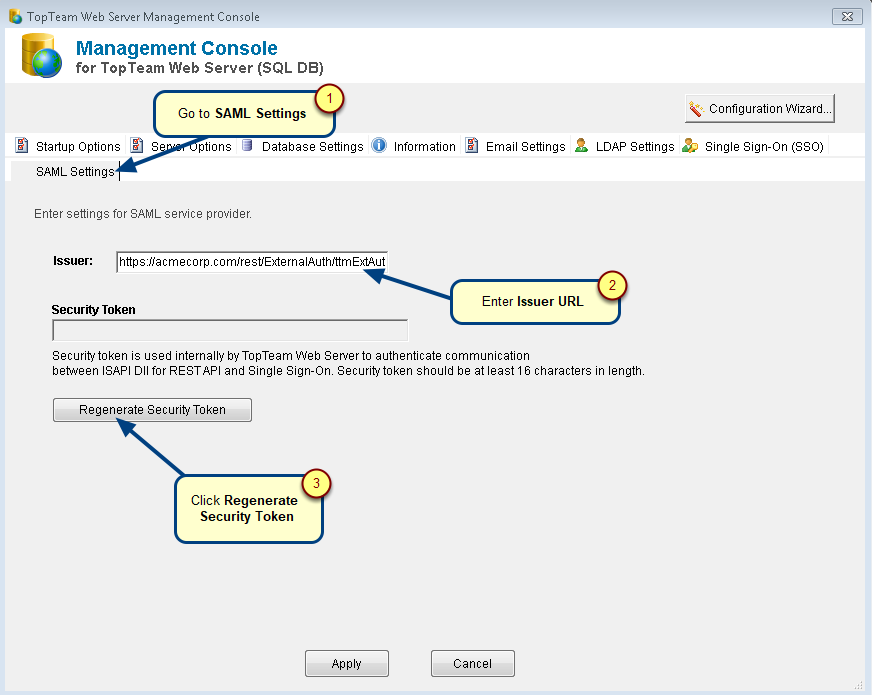
Issuer URL format:
https://<Domain>/rest/ExternalAuth/ttmExtAuthSrv.dll
If your TopTeam is running at https://acmecorp.com/, the Issuer URL will be:
https://acmecorp.com/rest/ExternalAuth/ttmExtAuthSrv.dll.
NOTE: URL is case-sensitive. To avoid connection issues, copy and paste the “rest/ExternalAuth/ttmExtAuthSrv.dll” part of the URL.
Step 3. Security Token is regenerated
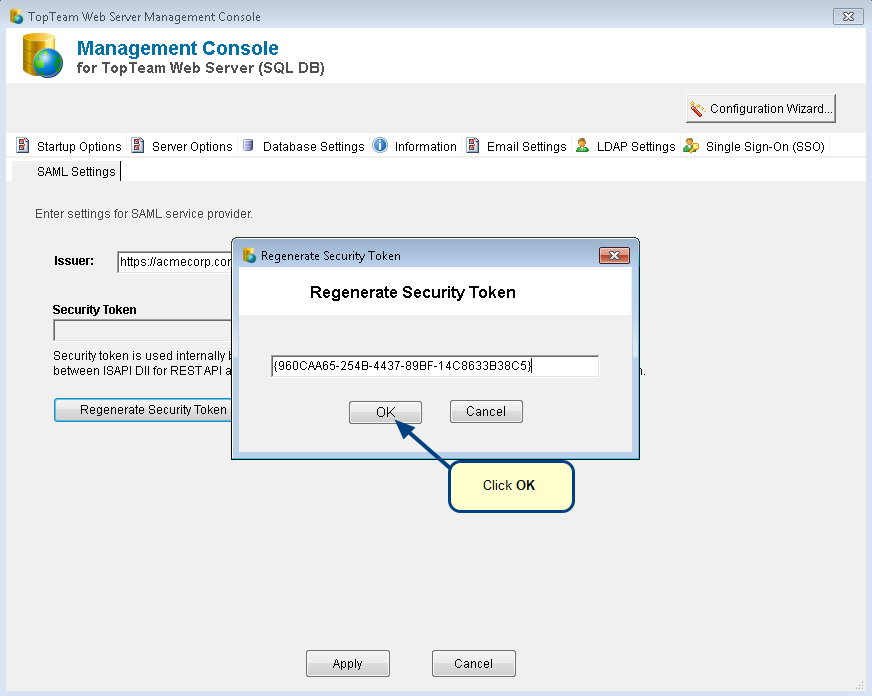
Security Token is regenerated successfully message displays, click OK.
Step 4. Click Apply to save your changes
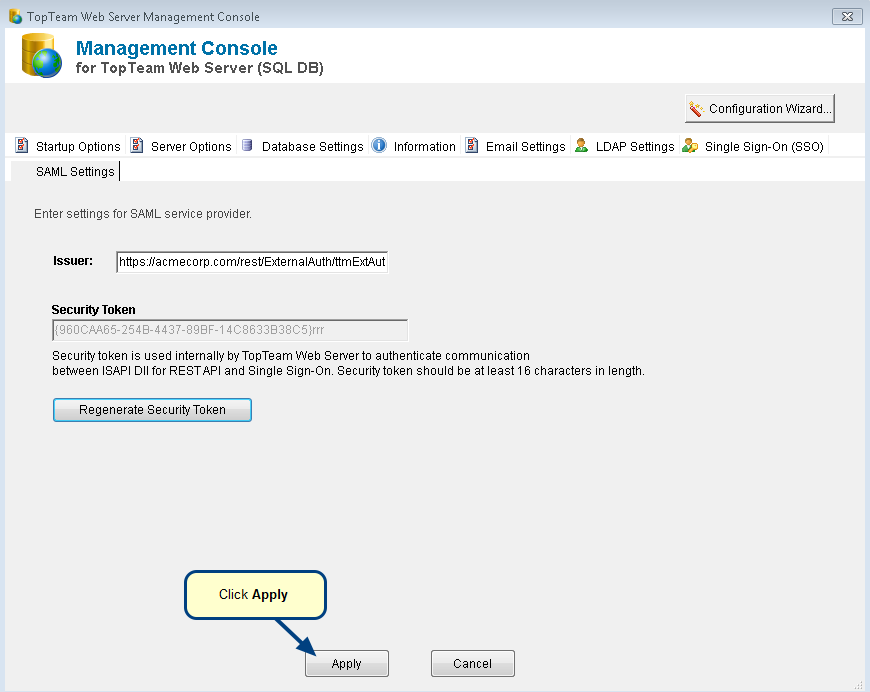
Changes are saved successfully message displays, click OK.
NOTE: The name of the management console file depends on the database that you are using.
If you are using:
- SQL then click ttmISAPICp_SQL.exe
- Oracle then click ttmISAPICp_Ora.exe
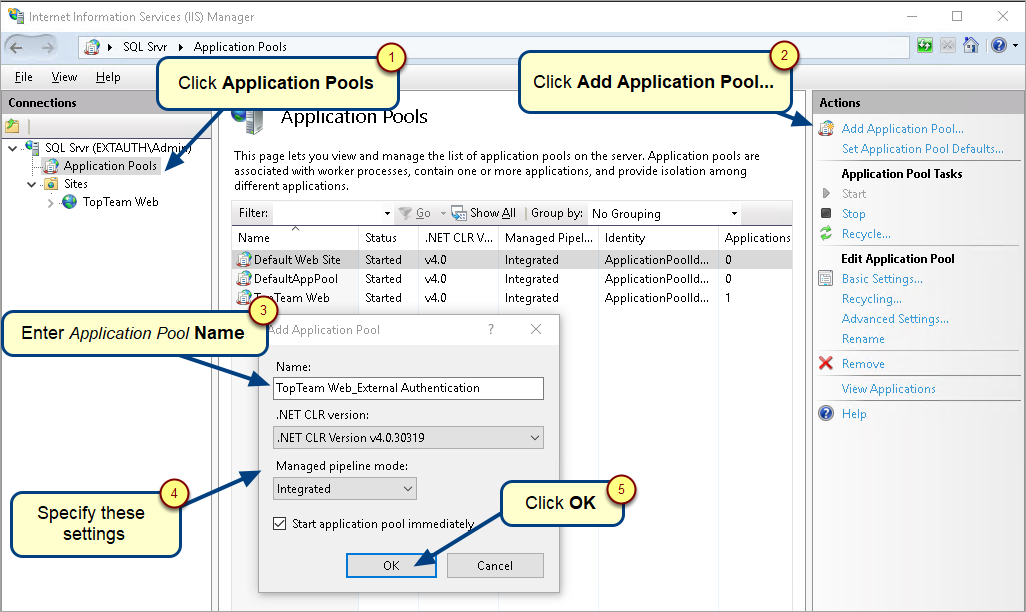
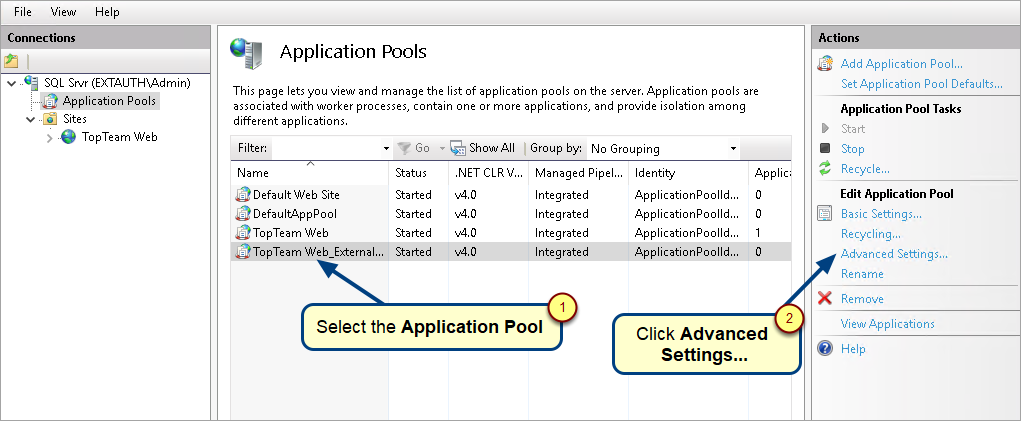
Step 5. Open IIS and add an Application Pool for External Authentication
For more information on opening IIS, refer to the article How to open IIS Manager.
Step 6. Open Advanced Settings for the Application Pool
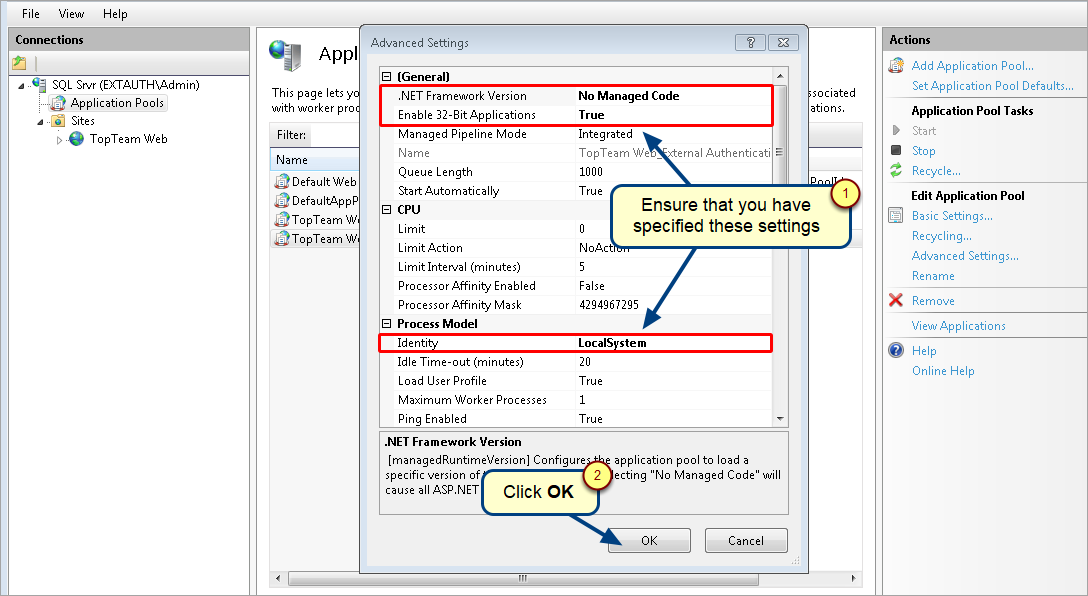
Step 7. Configure the Application Pool
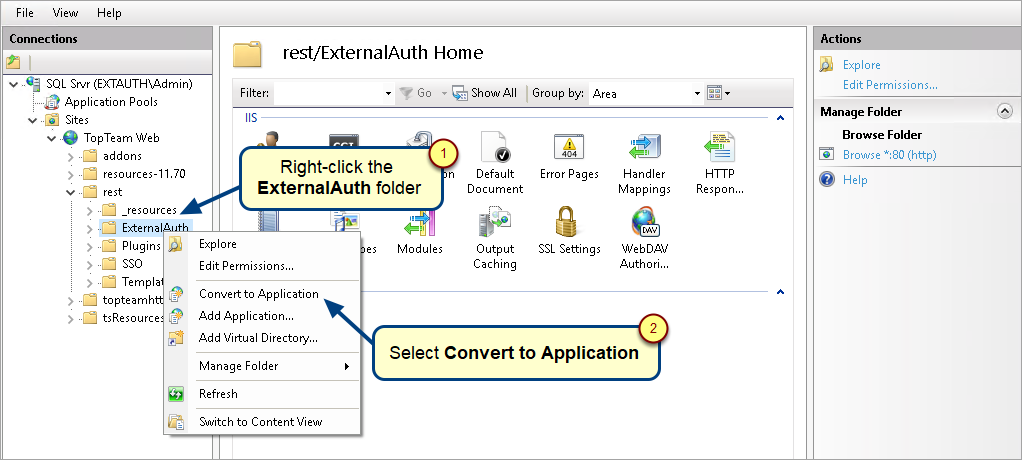
Step 8. Convert the ExternalAuth folder within TopTeam Web Site to Application
Step 9. Provide TopTeam Web_External Authentication Application Pool to ExternalAuth Application

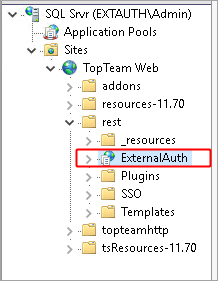
The ExternalAuth folder is converted to Application
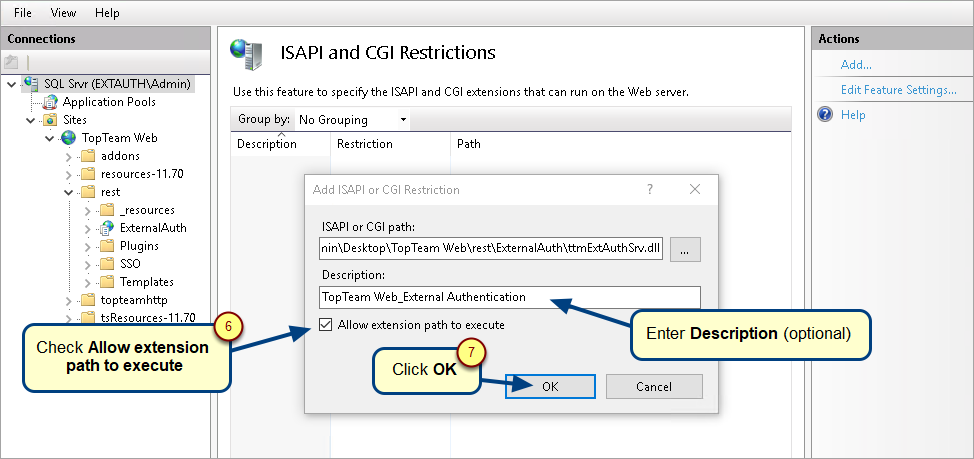
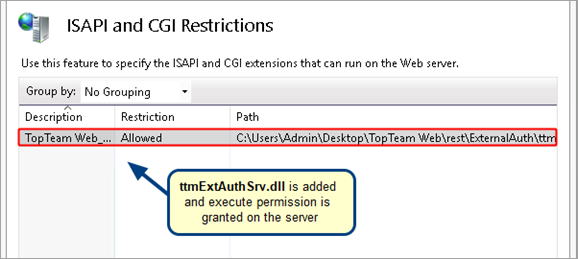
Step 10. Add ttmExtAuthSrv.dll to ISAPI and CGI Restrictions
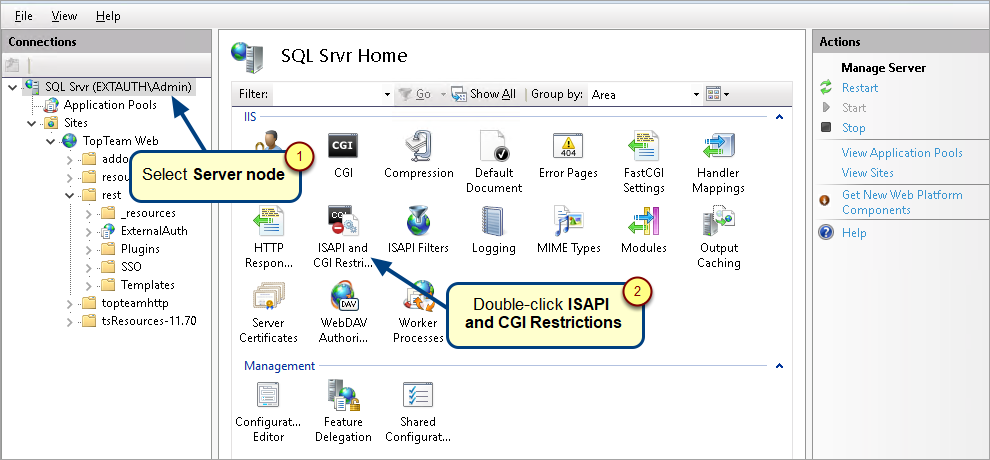
Specify the path of the dll in ISAPI and CGI Restrictions so as to allow execution of the dll on the server.

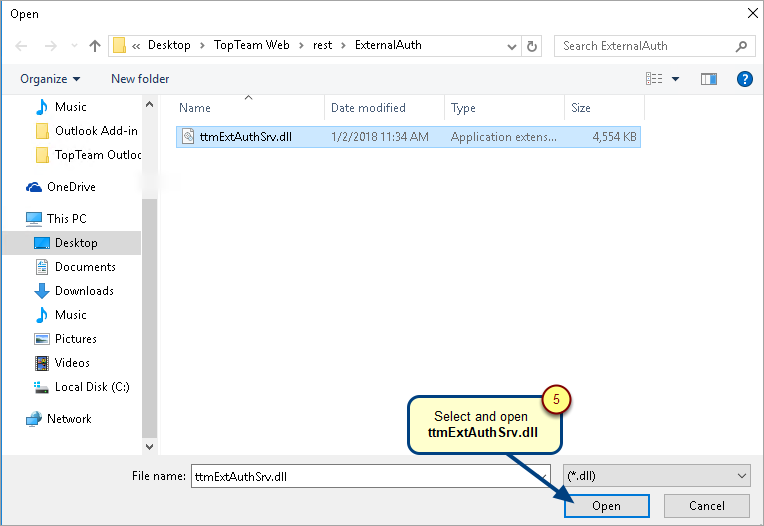
This is the installation folder of TopTeam Web Server, select the ttmExtAuthSrv.dll file within the rest > ExternalAuth folder.
IMPORTANT: TopTeam Web Server needs to be accessible as localhost for proper working of External Authentication.
You can achieve this by adding localhost in addition to hostname in website bindings as explained in the following steps:
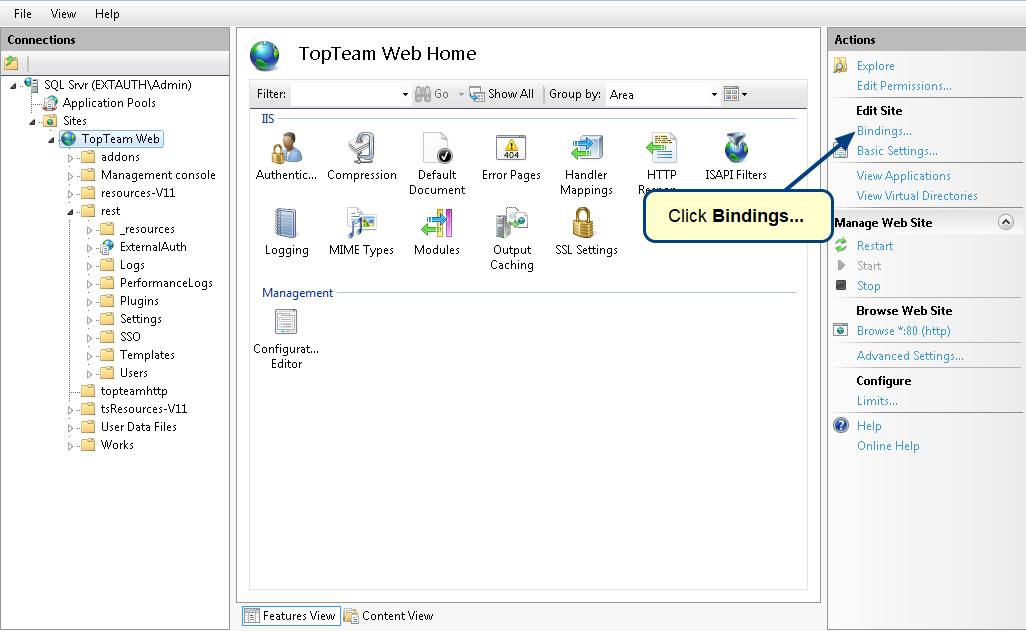
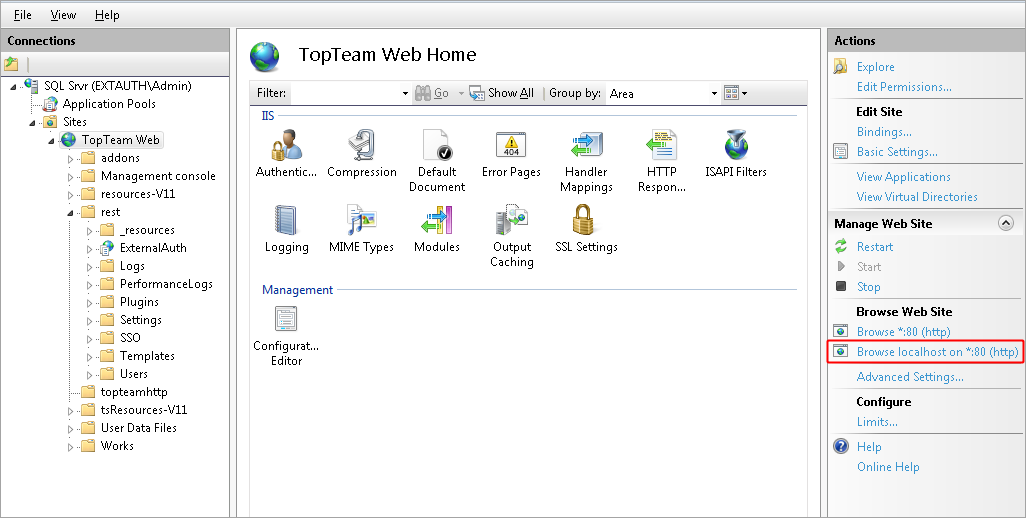
Step 11. Go to TopTeam Web Server and click Bindings…
TopTeam Web must be accessible via localhost. Add a new binding for localhost for both HTTP and HTTPS.
To enable this:
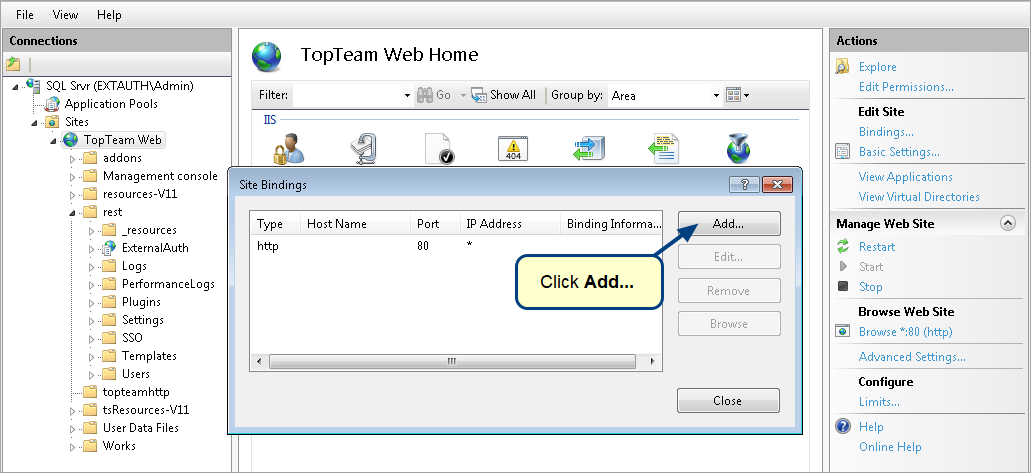
1. In IIS, select the TopTeam website and click Bindings.
2. Add a new binding for localhost (for both HTTP and HTTPS, e.g., port 80 and port 443).
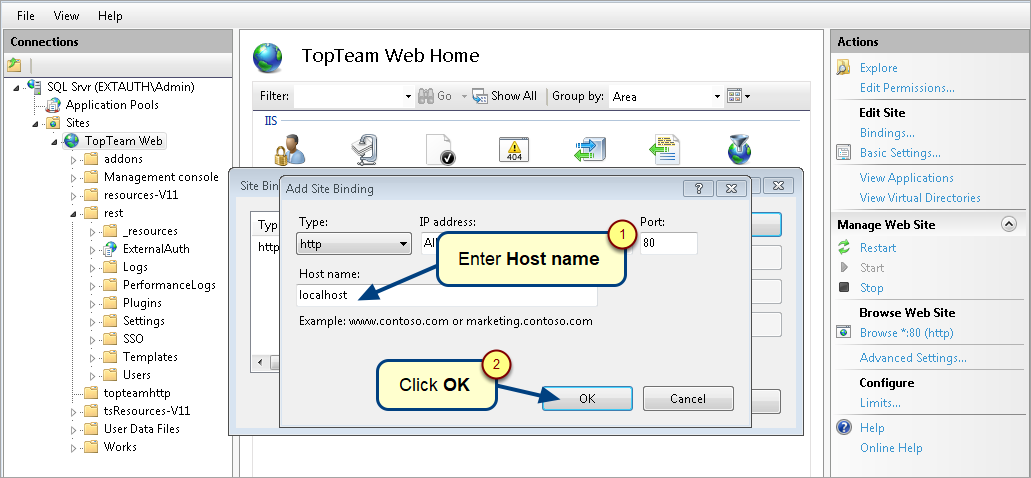
Similarly, add another binding.
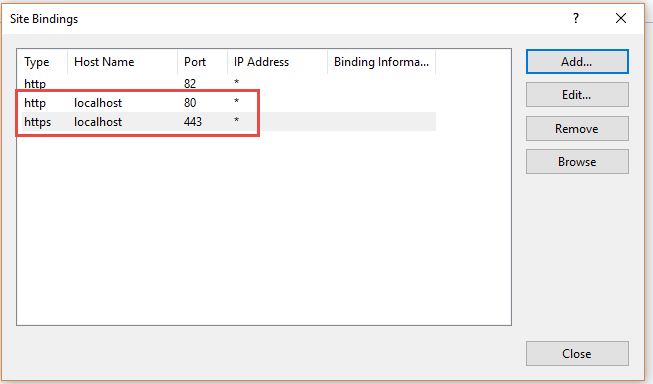
Close the Site Bindings window.
localhost is added to website bindings
Step 12. Verify Configuration
1. Go to Content View of ExternalAuth Application in IIS.
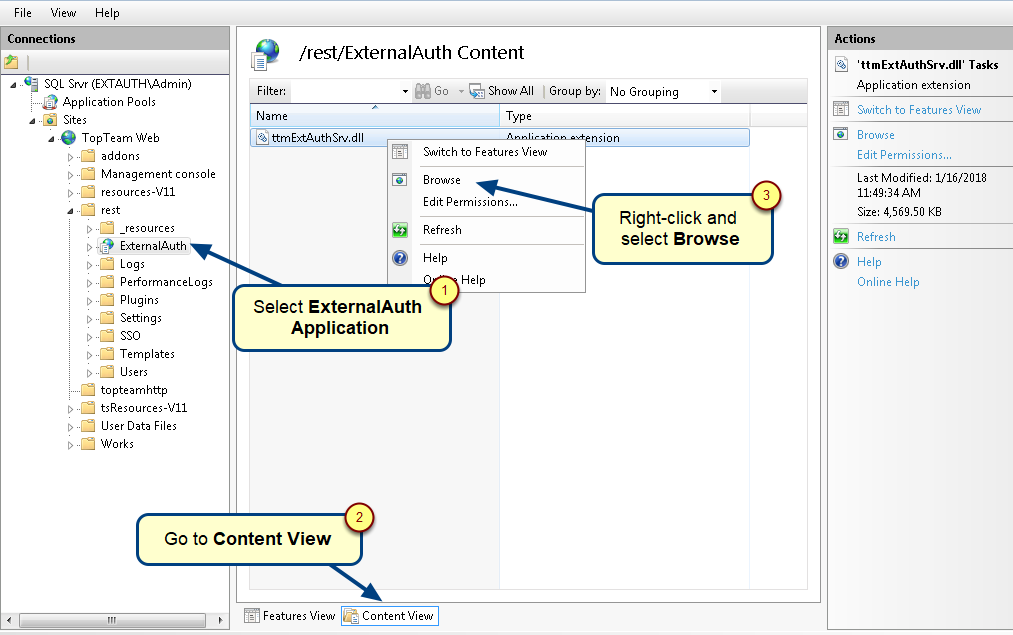
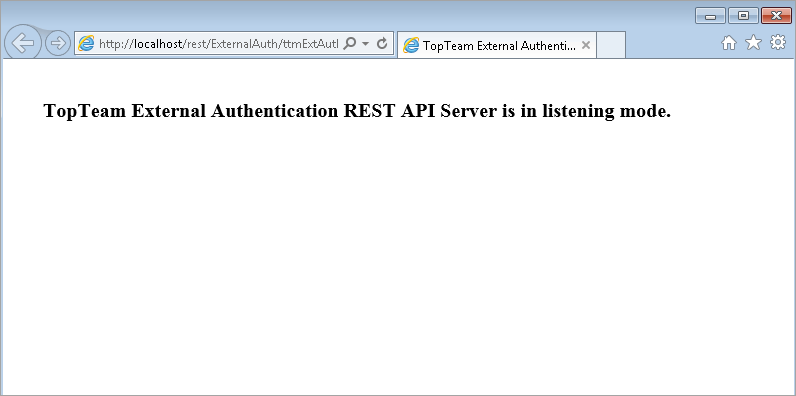
You should see the message as shown in the image below.
Troubleshooting
If you face any issues with the connection or configuration, please contact TechnoSolutions Support for assistance.
See Also
Configuring External Authentication (SAML) in TopTeam
Configuring TopTeam User Accounts for External Authentication
TopTeam Web Server Installation Guide
Revised: July 22nd, 2025